A strange musty smell when you turn on the A/C. Windows that fog up on the inside even in summer. Normal gauge pressures but no cold air. These are the three most distinctive signs of a failing semi truck evaporator core — and they are easy to confuse with a dirty cabin filter or a refrigerant issue until you know what to look for.
The evaporator is the last major A/C component most people think about — and the most expensive to replace, because it lives inside the cab's HVAC box behind the dashboard. This guide covers what it does, the 5 failure symptoms, how to diagnose it before you tear open the dash, and what replacement actually costs on a Class 8 truck in Canada.

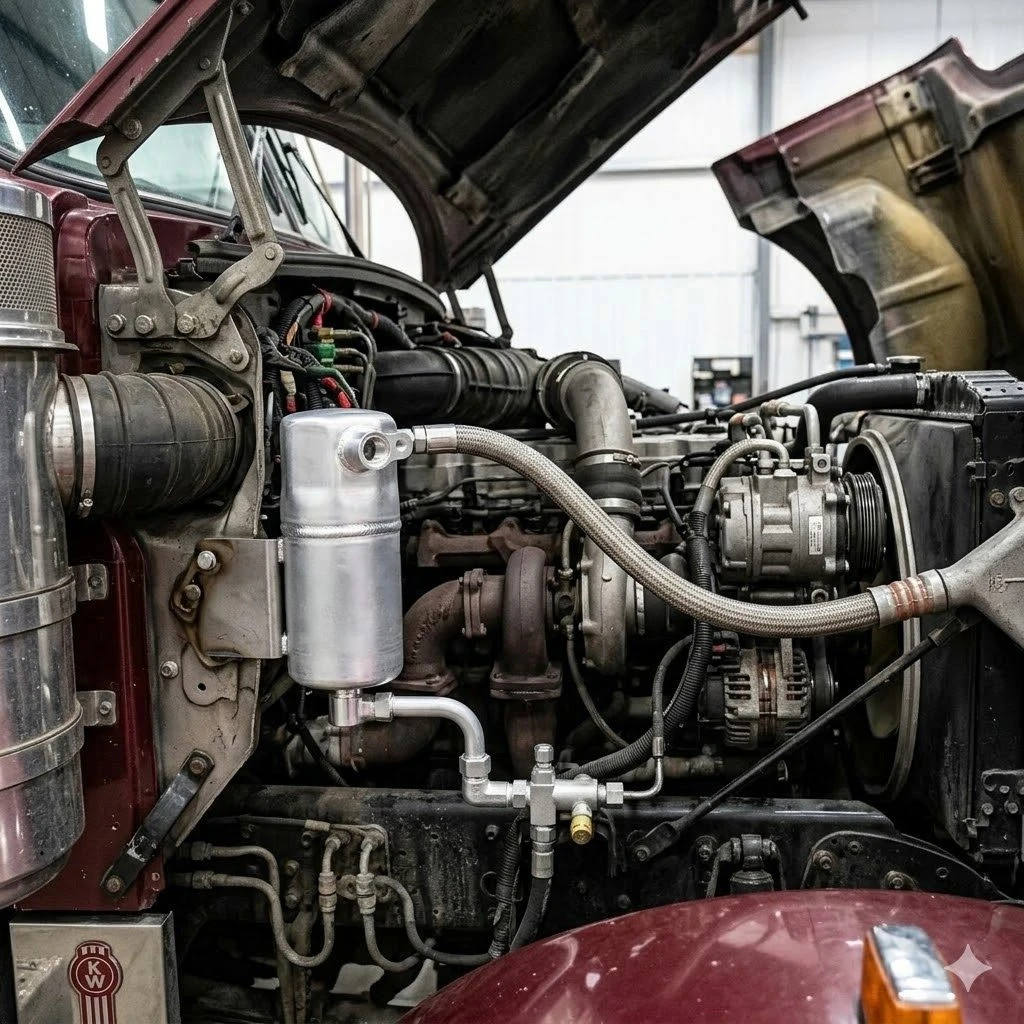
The evaporator sits inside the HVAC box under or behind the dashboard. When it fails, the symptoms are distinct — but accessing it for replacement is the most labour-intensive job in the entire A/C system.
In This Guide
What the Evaporator Core Does
The evaporator core is the cold side of the A/C system. It lives inside the HVAC box in your cab — the same housing as the heater core — and it does the actual work of removing heat from the air you breathe.
Refrigerant enters the evaporator as a cold, low-pressure liquid through the expansion valve (TXV). As cabin air blows across the evaporator's aluminium fins, the refrigerant absorbs heat from that air and evaporates into a gas. The now-cooled air enters the cab. The refrigerant gas travels back to the compressor, which pressurizes it, sends it to the condenser to dump the heat outside, and the cycle repeats.
Because the evaporator surface is always cold during A/C operation, it also pulls moisture out of the cab air — which is why running the A/C dehumidifies the cab and why condensation drips from the drain tube under the truck. This constant moisture is also why the evaporator is prone to mould growth and why it eventually corrodes from the inside out.
Key distinction: The evaporator is on the low-pressure (suction) side of the system. A leak here pulls air and moisture into the refrigerant rather than pushing refrigerant out — which is why an evaporator leak can contaminate an entire system with moisture while showing no visible oil stain outside.
5 Symptoms of a Failing Semi Truck Evaporator
1 Musty or Mouldy Smell from the Vents
This is the most distinctive evaporator symptom — nothing else in the truck produces it. When the evaporator fins stay wet between cycles (from poor drainage, a clogged drain tube, or mould colonization), organic matter accumulates on the aluminium surface. Every time the blower runs, it blows air across this growth and into the cab.
The smell is strongest on the first blast of air after startup — especially on a hot day after the truck has been parked — and fades after a few minutes as the fins dry out. If it comes back every time, the evaporator needs to be cleaned or replaced.
Important distinction: A musty smell does not always mean the evaporator is leaking or failing — sometimes it just needs a treatment with an evaporator cleaner (applied through the intake duct) or the drain tube unblocked. Only if the smell persists after cleaning, or is accompanied by other symptoms below, is full evaporator replacement indicated.
2 Windows Fog on the Inside in Summer
This one confuses drivers because interior fogging is associated with cold weather, not heat. But an evaporator leak can release small amounts of refrigerant oil into the cab air. That oily vapour coats the inside of the windshield and side glass with a greasy film that fogs in humidity and is difficult to wipe off cleanly.
If you notice a persistent film on the inside of your windows — especially with a faint sweet or chemical smell — and the defroster doesn't resolve it the way it normally would, an evaporator leak is a serious possibility. Confirm with a refrigerant leak detector or UV dye check at the evaporator drain.
Safety note: Refrigerant oil mist in the cab air is a health concern at sustained concentrations. If you suspect an active evaporator leak, ventilate the cab and have the system checked before extended use.
3 No Cold Air Despite Normal System Pressures
An evaporator that is blocked — whether by ice, debris, or a collapsed core — prevents airflow across its fins even though the refrigerant circuit is functioning normally. The compressor runs, pressures look correct on the gauge set, but little to no cold air reaches the cab.
This symptom overlaps with a seized blower motor, a blocked cabin air filter, or a stuck blend door — rule those out first. If the blower is moving air, the filter is clean, and the temperature blend door is confirmed open, but the air coming out is warm, the evaporator core itself is the next suspect.

Normal high and low side pressures with no cold air output points toward an airflow restriction at the evaporator rather than a refrigerant circuit problem. Check blower, filter, and blend door before condemning the core.
4 Ice Forming on the Evaporator or Reduced Airflow Over Time
An evaporator that freezes over is almost always caused by a failing expansion valve flooding the core with too much refrigerant — but a dirty or partially blocked evaporator core can also contribute. When the fins are matted with debris or mould, the reduced airflow allows the core surface to drop below freezing and ice over, further blocking airflow in a feedback loop.
Signs of ice-over: airflow from the vents decreases progressively after startup, reaches near-zero after 20–40 minutes, then recovers when the system shuts off long enough for the ice to melt. Cycle the A/C off for 30 minutes and feel whether airflow returns. If it does, the core is icing — and the root cause is either the expansion valve, a refrigerant overcharge, or a dirty evaporator.
5 Refrigerant Oil Residue at the Evaporator Drain
The evaporator drains condensation through a rubber or plastic tube that exits under the cab — typically visible near the passenger-side firewall or under the cab on the frame. Water dripping from this tube during A/C operation is completely normal. Oil residue at or around this drain is not.
Refrigerant oil exiting through the drain means the evaporator core has a pinhole leak or a cracked fitting. The refrigerant escapes as gas; the oil — which travels with the refrigerant — exits as liquid through the drain path. Check the drain tube outlet and the area around it for a greasy or oily deposit. A UV lamp after adding dye to the system will confirm the leak location.
Need a replacement evaporator core?
Direct-fit A/C evaporator cores for Freightliner, Kenworth, Peterbilt, Hino, Volvo & Mack. Same-day quotes from GTA.
How to Diagnose It Before Pulling the Dash
Because evaporator replacement is the most labour-intensive A/C job on a semi truck, you want to be confident in the diagnosis before tearing apart the dashboard. Here is a sequence of checks that can confirm or rule out the evaporator without major disassembly.
Step 1 — Rule Out the Easy Causes
- Cabin air filter: A completely clogged filter mimics a frozen evaporator. Remove and inspect it first — takes 5 minutes.
- Blower motor: Confirm the blower is spinning at all speeds. A failing blower motor reduces airflow independently of the evaporator.
- Blend door actuator: A stuck blend door can keep the heater core in the airflow path. With the A/C running, feel duct temperatures — if one duct is warm and another cold, the blend door is the culprit.
- Refrigerant charge: Connect a gauge set and confirm the system is properly charged. Low refrigerant is still the most common cause of poor A/C performance.
Step 2 — Temperature Split Test
With the system running on maximum cooling, measure the temperature of the air entering the evaporator box (return air from the cab) and the air exiting the closest vent. A healthy evaporator should show a temperature drop of at least 15–20°C (27–36°F) across the core on a hot day. A drop of less than 10°C with correct system pressures points to poor heat exchange at the evaporator — either from ice-over, debris buildup, or core degradation.
Step 3 — UV Dye Check at the Drain
If a refrigerant leak is suspected, add UV dye to the system through the low-pressure service port, run the A/C for 15 minutes, then shine a UV lamp at the evaporator drain outlet and around the HVAC box seams. A green or yellow glow confirms a refrigerant leak at the evaporator. Note: UV dye already in the system (from a prior service) may already be present — check the drain before adding fresh dye.
Step 4 — Evaporator Access for Visual Inspection
On some trucks, there is a removable access panel or cleanout port on the HVAC box without requiring full dash removal. On Freightliner Cascadias, a small panel on the passenger side of the HVAC box can be removed to shine a light on the evaporator core face. Look for bent or crushed fins (airflow restriction), heavy debris matting, visible black mould growth, or oily residue on the fins (refrigerant oil from a leak).
What Causes Evaporator Failure
Corrosion from the Inside (Most Common)
Moisture in the refrigerant circuit reacts with refrigerant oil to form a weak acid (formic or acetic acid). Over years of operation, this acid slowly attacks the aluminium walls of the evaporator tubes from the inside, eventually creating pinholes. The process accelerates when the receiver drier has not been replaced on schedule and moisture is no longer being absorbed from the system.
Debris from a Failed Compressor
When an A/C compressor fails catastrophically — especially from a seized clutch or broken reed valves — it sends metal debris and bearing material through the refrigerant circuit. This debris passes through the condenser and receiver drier into the expansion valve and evaporator. The TXV screen catches some of it; the evaporator catches the rest, blocking passages and accelerating corrosion. After a major compressor failure, the evaporator should always be inspected and flushed.
Physical Damage to the Core
Road debris, a collision, or improper removal during a previous repair can physically crush or crack the evaporator core. Because it is inside the HVAC box, physical damage is rarely visible without disassembly — but it will produce refrigerant loss and reduced cooling immediately after the event that caused it.
Mould and Biological Growth
The evaporator's wet, dark environment inside the HVAC box is ideal for mould growth. While mould itself does not usually cause structural failure, it mats the fins with organic material, reduces heat exchange efficiency, and is the source of the musty smell. Heavy mould growth that has been present for years can accelerate corrosion by trapping moisture against the aluminium. Evaporator coil cleaner applied annually — especially before summer — significantly reduces mould buildup.
What to Replace at the Same Time
Because accessing the evaporator requires extensive disassembly, it is economically sensible to replace every A/C component in the same area while you have the dash apart. Paying another 6–8 hours of labour for a part that should have been replaced the first time is an avoidable cost.
Always replace with the evaporator:
- Expansion valve (TXV) — the TXV is directly adjacent to the evaporator inlet. If the evaporator has been running with contaminated refrigerant, the TXV screen and orifice are compromised. A new evaporator behind a failed TXV will ice over within a season.
- Receiver drier — every evaporator replacement opens the system, which saturates the desiccant. Skipping the drier after an evaporator job is the fastest way to corrode the new core. See our receiver drier replacement guide for why this rule exists.
- O-rings at all disturbed connections — new O-rings at every fitting that was disconnected. Reused O-rings are the most common source of post-service leaks.
Inspect and replace as needed:
- A/C compressor — if the evaporator failed from debris contamination (compressor failure debris), the compressor itself must also be inspected for scoring. A damaged compressor will contaminate the new evaporator.
- A/C hoses and lines — on high-mileage trucks, the inner rubber lining of hoses degrades and sheds into the refrigerant. Replace any hose that is cracked, stiff, or shows external swelling.
- Cabin air filter and HVAC drain tube — clean or replace both while the HVAC box is open. A blocked drain tube is what kept the evaporator wet enough for mould to grow in the first place.
- Blend door actuator — while access is open, test both actuators. A failed actuator after reassembly means another partial disassembly to reach it.
Flush note: If the evaporator failed due to compressor debris, flush the condenser with A/C flush solvent before recharging. The evaporator and TXV are replaced, not flushed — their passages are too fine to reliably clean after a contamination event.
Replacement Cost in Canada
Evaporator replacement is the most expensive A/C job on a semi truck — not because the part costs more than a compressor, but because the labour hours are the highest of any A/C component.
| Item | Cost (CAD) |
|---|---|
| Evaporator core (OEM-fit aftermarket) | $250 – $600 |
| Expansion valve (TXV) | $60 – $150 |
| Receiver drier | $50 – $120 |
| Refrigerant (R134a) + oil | $80 – $150 |
| O-rings, fittings, misc. | $30 – $60 |
| Labour (6–10 hrs at $100–$150/hr) | $600 – $1,500 |
| Total Estimated Range | $800 – $2,300 |
Labour is the dominant cost. On a Freightliner Cascadia, reaching the evaporator typically requires removing the passenger-side dash panel, the HVAC box cover, and the TXV access — a process that varies by year and configuration but averages 6–10 hours. On cab-over trucks like the Hino 268 and 338, access can be faster because HVAC box design tends to allow more direct entry.
Sourcing your own OEM-fit evaporator core before bringing the truck in can reduce the total bill significantly — shops that supply parts typically mark them up 20–40%. We stock direct-fit evaporator cores for all major makes with same-day quotes for GTA customers.
Notes by Truck Make
Freightliner Cascadia (2008–2026)
The Cascadia's evaporator is housed in the HVAC module behind the centre dash. Access requires removing the glove box, lower passenger dash trim, and in many cases the entire HVAC box from the dash — a process that accounts for the 6–10 hour labour range. The 2018+ Cascadia (DD15/DD13 spec) has a redesigned HVAC module with slightly better access than the pre-2018 models. Use R134a refrigerant on pre-2021 trucks; confirm refrigerant type on 2022+ models before recharging.
Kenworth T680 / Peterbilt 579
The T680 and 579 share similar A/C architecture. The evaporator is located in the overhead HVAC system on most configurations, which provides better access than dash-mounted designs — typically 4–6 hours labour compared to 6–10 hours on the Cascadia. Confirm the TXV part number carefully, as several variants were used across model years.
Volvo VNL (2018–2026)
The VNL uses a modular HVAC system with a serviceable evaporator access panel — one of the more technician-friendly designs in the industry. Labour time averages 4–7 hours. Volvo specifies PAG 46 refrigerant oil; using the wrong viscosity accelerates seals and O-ring degradation. Confirm the oil type from the underhood sticker before recharging.
Mack Anthem / Pinnacle
Mack trucks share much of their HVAC engineering with Volvo. Evaporator access on the Anthem is similar in approach and labour time to the VNL. The Pinnacle — an older platform still common in Canadian fleets — has a more complex dash structure that increases labour time. Northern climate operators should inspect the evaporator drain tube annually; road salt spray can corrode the plastic drain fitting from the outside.
Hino 268 / 338
The Hino cab-over design places the HVAC box in a more accessible location than most long-haul conventionals. Evaporator replacement typically runs 3–5 hours labour — making Hino one of the lower-cost trucks for this job. We stock OEM-fit Hino evaporator cores for same-day pickup in Vaughan. The J05E and J08E engines share similar A/C architecture; confirm the cab configuration (day cab vs. crew cab) when ordering, as they take different cores.
International LT / RH
International's A/C system on the LT series uses a split HVAC design with both a roof-mount sleeper unit and a cab HVAC box. Confirm which system is failing before ordering parts — the cab evaporator and the sleeper evaporator are different components with different part numbers. On fleet trucks running APU systems, the APU A/C is a completely separate circuit.
Frequently Asked Questions
How do I know if it's the evaporator or the expansion valve causing ice-over?
Ice-over is almost always caused by a failing expansion valve flooding the evaporator with too much refrigerant — the TXV is the thermostat for the evaporator, and when it sticks open, the core freezes. The evaporator itself only contributes to ice-over when its fins are clogged enough to restrict airflow. Check the TXV first; it is cheaper and less labour-intensive to replace. If the new TXV doesn't resolve the ice-over, the evaporator core's airflow restriction is the cause.
Can I clean a semi truck evaporator without replacing it?
Yes, if the issue is mould or debris buildup rather than a leak. Evaporator coil cleaner (foam spray) applied through the intake duct or a HVAC access port dissolves mould and biological growth. This resolves the musty smell and can restore some airflow in minor blockage cases. It will not repair a leaking or physically damaged core. If the smell returns within a season after cleaning, the core needs replacement.
How long does a semi truck evaporator core last?
A well-maintained evaporator lasts 10–15 years or 800,000–1,200,000 km on most Class 8 trucks. The factors that shorten lifespan are moisture in the refrigerant circuit (skipped receiver drier replacements), compressor failures that sent debris through the system, and infrequent drain tube cleaning that keeps the core permanently wet.
Is it safe to drive with a leaking evaporator?
Short term, yes — a slow evaporator leak will gradually lose refrigerant and the A/C will progressively lose cooling capacity. The truck is drivable. However, an active leak that is releasing refrigerant oil vapour into the cab in significant quantities is a ventilation concern. If you smell refrigerant inside the cab (a faint sweet or ether-like odour), ventilate and have the system inspected promptly.
What refrigerant does a semi truck evaporator use?
Most Class 8 semi trucks built before 2021 use R134a. Some 2022+ models are transitioning to R1234yf, which has a lower global warming potential. Check the underhood refrigerant sticker — the type is specified there. The evaporator core itself is compatible with either refrigerant; what changes is the refrigerant oil type (PAG for R134a, POE for R1234yf on most applications). Mixing oil types accelerates seal failure.
Do I need to flush the system when replacing the evaporator?
Only if the reason for replacement is debris contamination from a compressor failure. Flush the condenser with A/C flush solvent before reassembly. If the evaporator failed from a pinhole leak (corrosion, not contamination), flush is not necessary — replace the evaporator, TXV, receiver drier, O-rings, and recharge with fresh refrigerant and oil.